How to Add a Slideshow to Your Website

If you want to add a demonstration video to your website or a photo presentation to your blog, you can easily do that by creating a slideshow. Icecream Slideshow Maker is a brilliant decision in this case – it’s easy to use, free of charge and gives you a number of useful features for making a nice presentation. Slideshow Maker isn’t overloaded with options and can be utilized even by those who have no experience with making slideshows. Check this article to learn how to create a presentation with Icecream Slideshow Maker and add a slideshow to your website.
Download and install the program
All you need to do to download Icecream Slideshow Maker onto your PC is click the “Download” button which can be found on this page. You don’t have to register on the site, pay money, enter keys, or send SMS. Just save a setup file and run it to start the installation. Follow the Wizard to complete the process and open the program to start using it for your project.
Add photo/folder with photos
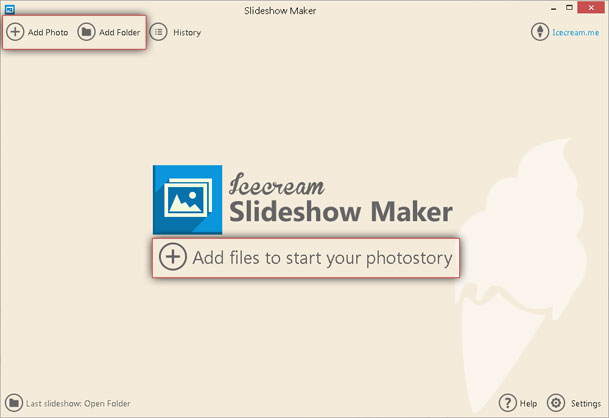
The program allows you to add photos one by one by clicking on the “Add photo” or “Add file to start your photostory” buttons in the main window or import photos in a bulk from a selected folder by clicking on the “Add folder” button in the upper left corner.
Choose photos from your computer via Windows Explorer and they will be automatically uploaded to the program. Note that Icecream Slideshow Maker filters the files and only opens those that have a suitable extension (.jpg, .png, .jpeg, .bmp, .gif). If you decided to add a folder with photos, remember that images from the subfolders will be imported, too.
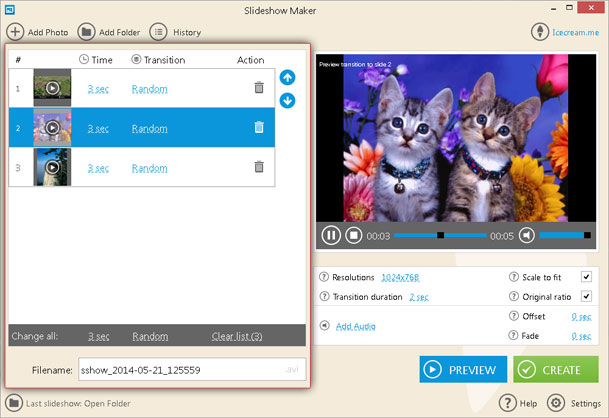
After adding the images, the main window will be split in two: queue panel at the left and preview area with settings at the right. Now, you can set the configurations according to your preferences.
Configure slideshow settings
Settings available at the left side of the panel can be applied to each file in the queue and thus can have different values. Particularly, you can select desired values for “Time” and “Transition” options by clicking on the corresponding button to the right of a file you are working with and selecting a necessary option. You can delete files from the queue by clicking on the recycle bin button to the right of the needed file. To move a file in the queue, highlight it and use the direction keys on the right to move it up or down. Also, you can simply drag and drop them to a desired location.
“Time” and “Transition” options under the queue work in the same way, but when configured from this area, these settings are applied to all the files in the list. You can preview the effects in the player at the right side. It is also possible to clear the whole queue by clicking on the “Clear list” button in the same area of group settings.
The program assigns your future slideshow with a default title (“sshow_yy-mm-dd_hhmmss”) that you can see on the bottom of the panel. Feel free to change the filename if you want.
Now, you can move to the right side of the window and tweak the settings for your slideshow.
Start with choosing a resolution value for your project – click on a default value and check out the dropdown menu to select a necessary one. “1024x768” is set by default.
The “Transition duration” setting allows you to correct the duration of chosen effects.
Finally, “Scale to fit” and “Original ratio” boxes allow you to either adjust the images to your screen’s size or keep an original aspect ratio respectively. Check the necessary box and proceed forward. By the way, point your cursor over the question mark icon in front of a setting you are working with to get some additional information about it.
The last but not the least important step is adding audio. If you want to set a song as a background for your slideshow, click on the “Add audio” button on the bottom of the panel and import a track from your computer via Windows Explorer. Note that the program only supports audio in WAV, OGG, FLAC and WMA formats. After that, you can specify the offset and fade values for your audio by using the corresponding settings on the right of the track, preview the video using the player on the right, and move on with your slideshow.

Create a slideshow
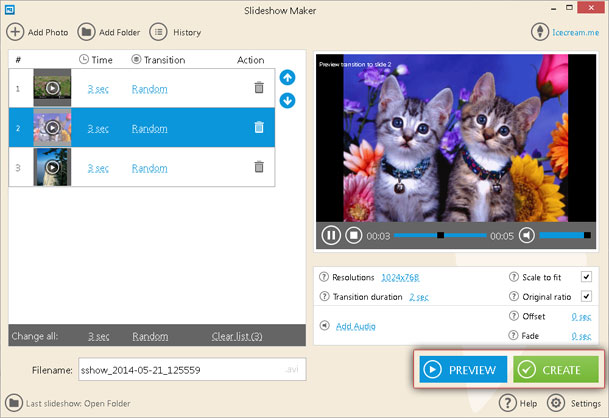
Before you skip to the actual process, press the "Preview” button in the bottom right corner of the window to make sure all the chosen settings and effects work exactly like you want. To start creating your project according to the chosen presets, simply click on the “Create” button in the bottom right corner. If you want to pause or cancel the process, use the “Pause/Resume” and “Cancel” controls next to the progress bar.
Upon the completion, the program will show you a popup window with a green “open folder” button in it. You can press this button to check your completed project in a containing folder.
Add a slideshow to your website
Now when you have a ready slideshow created with the help of Icecream Slideshow Maker, you can proceed to add video to your website. One of the most effective and simple ways to do that is to upload a video on YouTube first. Create an account on YouTube or log in with a current one and upload a video to your account's channel.
When the video is successfully saved to YouTube, select the Share button right under it and press it. There click on Embed button and just in a couple of second YouTube will provide you with a link that you only need to insert into a selected place of your website. You can adjust the size of the video by means of Video size option right below. After you copy and paste this code to the code of a necessary page of your website you will see a YouTube widget of a selected size.
