How to Record Your Computer Screen
Many people face the need to record computer screen. You might need to reenact some sequence of your actions, or record a gameplay session, webinar, or else. Whatever the goal is, you are going to need a desktop recorder, preferably one that records both the system audio and the microphone. Icecream Screen Recorder is a robust desktop recording software that should do the trick and record your computer screen, and it's free! If you are looking for a guide on how to record your screen, you can find it below.
Download and install Icecream Screen Recorder
First off, you need to download the desktop recorder and install it. Launch the program to proceed to the screen recording process.
Prepare for desktop recording
If you need to record computer screen with audio, open the “Audio” tab in the Settings panel of the desktop recorder to tweak the settings.
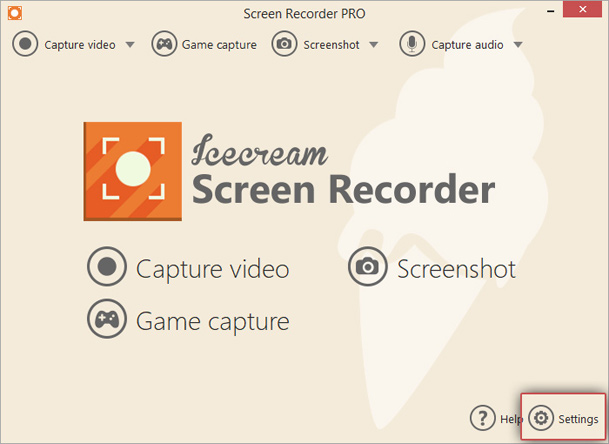
Enable the “Record audio” and “Record microphone” options to record the system audio and mic respectively.
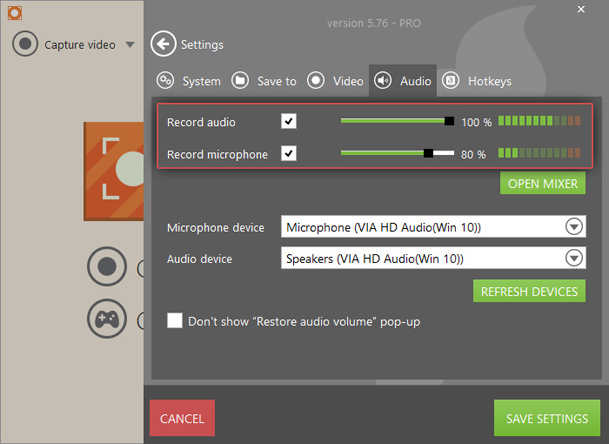
If you need to record a desktop screen without the mouse cursor being shown, – uncheck the “Record mouse movements” option in the “Video” tab. Here you may also find options to highlight the mouse cursor and animate clicks. Desktop recording software enables you to set the output video quality and format. Available video formats include MP4, AVI, MOV, and WebM.
Record your screen
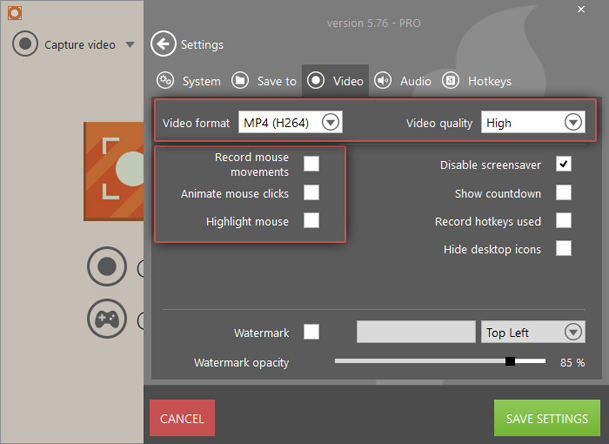
Click the “Capture video” button on the free desktop recorder to select the zone of your screen to be captured. “Fullscreen” mode offers a fast way to record desktop in full. The “Custom area” option is for manual selection of a specific zone.
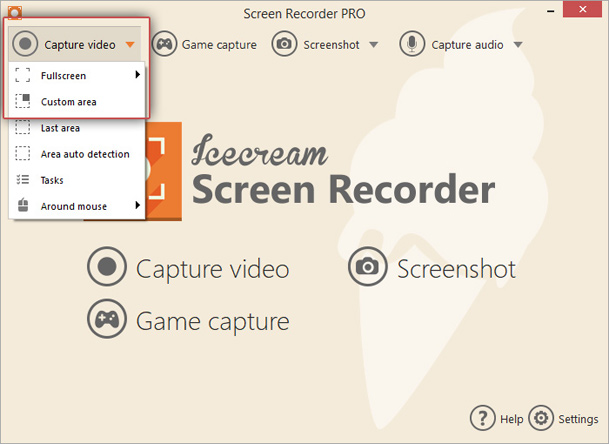
You can start recording your computer screen by pressing the “Rec” button or using the F7 default hotkey.
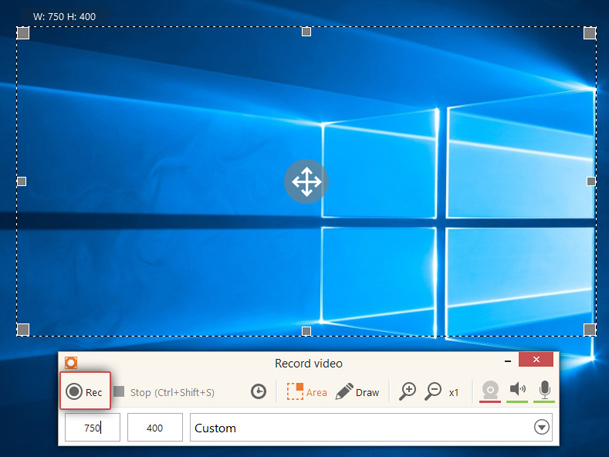
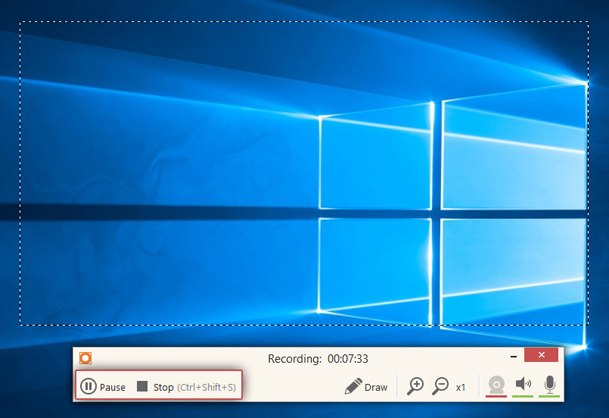
Pausing and resuming the process is available through the Pause/Resume buttons and the mentioned hotkey. The "Stop" button (F8 hotkey) stops the capturing process and saves the end video.
Edit and share the recording (if needed)
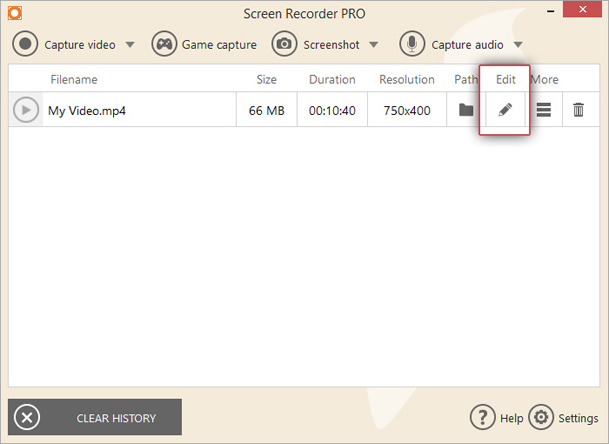
You can trim the created video from the “History” panel of the desktop recorder. To trim the video, click the "pencil" button in the corresponding column.
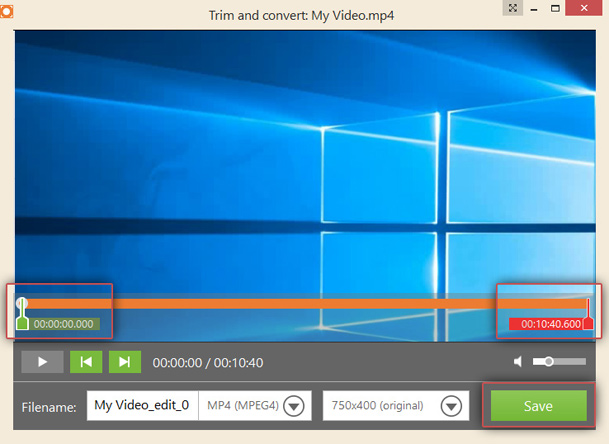
The video will be opened in a new window. Use the timeline with two markers to specify new timing for the beginning and end of the video. Click the “SAVE” button to apply the changes.
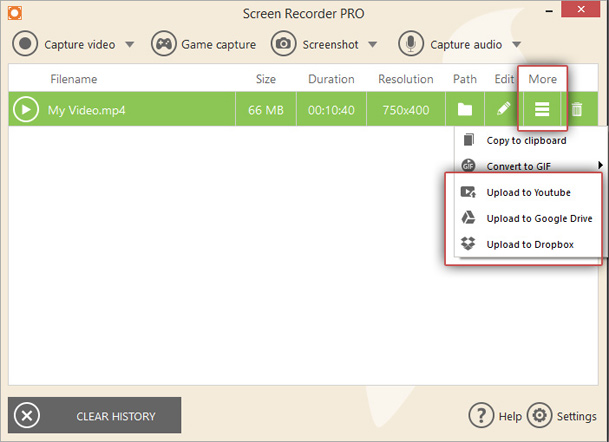
To share your video, use the “More” button in the “History” panel to open a dropdown menu with the sharing options. Choose “Upload to YouTube,” “Upload to Google Drive,” or “Upload to Dropbox” to upload your video to one of these cloud services.
This was a full step-by-step guide on how to record your computer screen with Icecream Screen Recorder.

