How to Crop a Video
Recording a video might be a challenging task considering that it's not possible to retake what was captured. That's why, sometimes, the major part of a video may be out of focus. To solve this problem, crop video with a reliable video editing software to make sure you highlight only what is needed. Icecream Video Editor is a free video editor that can do this task for you. Below, find the guide showing how to crop a video.
Download a video editor capable of cropping
Download Icecream Video Editor from the official website. Install the video cropper program by double-clicking the saved EXE file. Open the program after the installation process is complete.
Add the video for cropping
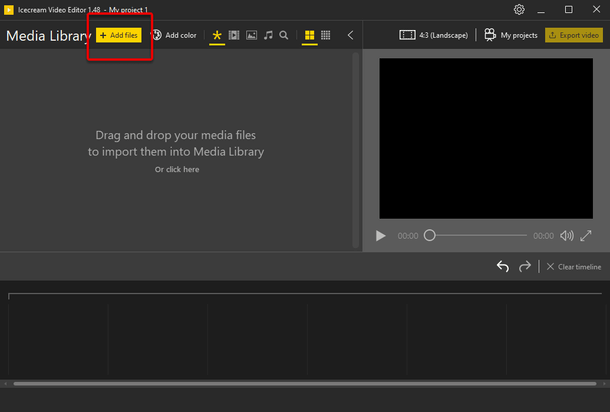
It's possible to add the video files into the program for cropping via Windows Explorer. Click the mouse cursor within the Media Library field in order to browse for the video files on your computer. Note: the drag and drop mechanism is supported as well.
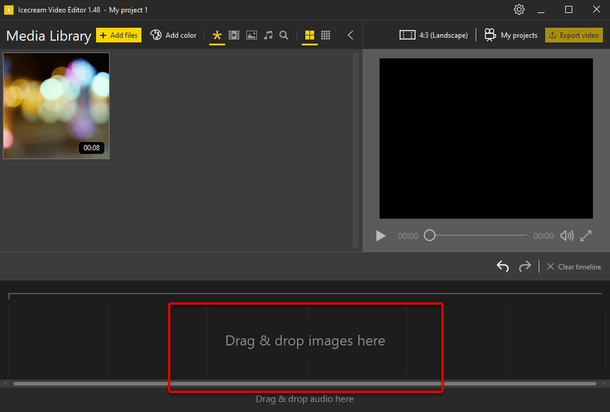
Next, add the file to the timeline. To do it, right-click the video's thumbnail in the Media Library and select the "Add file to timeline" option. Another way is to drag and drop the video from the Media Library to the timeline.
Choose the crop size and settings
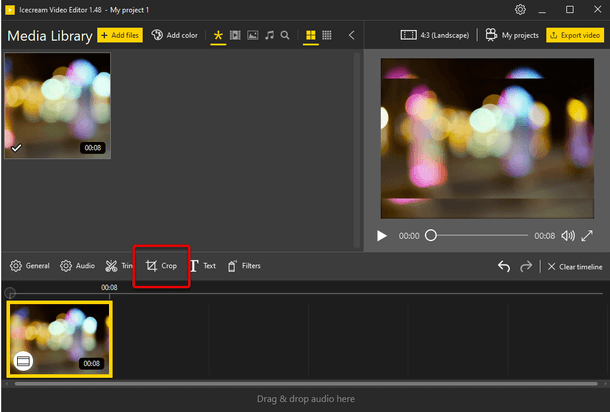
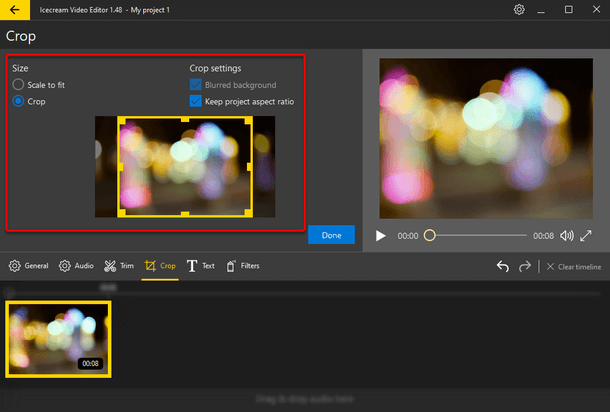
The next step to crop your video is to select a scene on a timeline and to click the "Crop" button in the panel above. The video cropping settings panel will appear.
The “Scale to fit” video crop option is selected in Icecream Video Editor by default. Select the “Crop” option to crop video manually.
Tick the “Keep project aspect ratio” to keep the video in the selected project aspect ratio automatically. If this option is unticked, then it's possible to crop video of any custom size. The “Blurred background” option adds blurred borders to fit the video into the output video aspect ratio. If the “Blurred background” option is unticked, then the borders are black.
Move the yellow borders to set the new size of your video. The results are shown in the preview zone in the right-hand side of the video cropper's window. Click the “Done” button when finished.
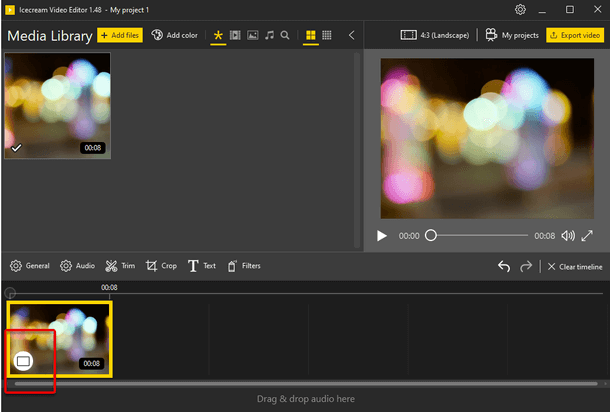
Note: The bars (black bars, blurred bars, and no bars) option for each scene can be quickly applied from the timeline. Click the circle button with a rectangle within the video's thumbnail to select any of the mentioned options. The “Apply to all” option automatically applies the black bars, blurred bars, or no bars setting for all the videos added to the timeline.
Crop video and save
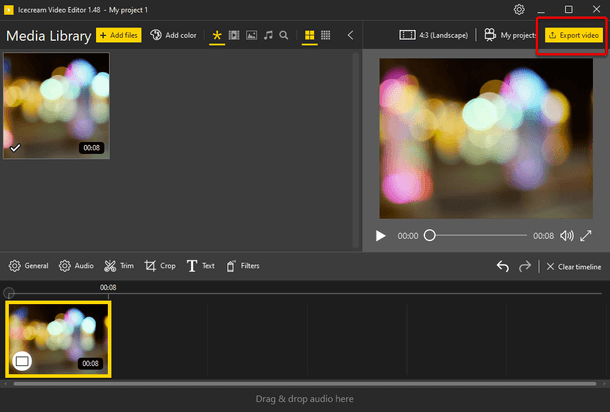
If you're satisfied with the results, then it's time to finalize the video cropping process. In order to save the result, you need to proceed with clicking the “Export video” button in the top-right corner of the program window.
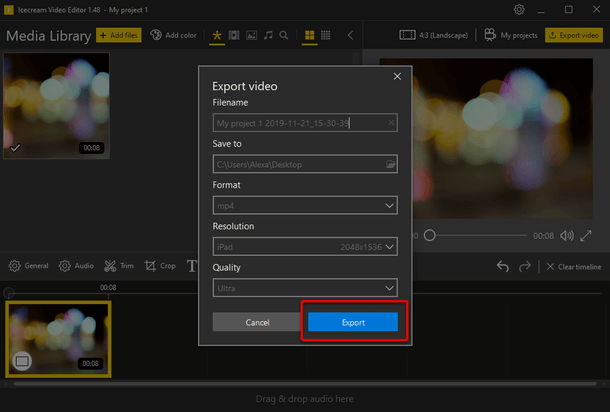
Specify a new file name if required, the path to the output folder, the video format, the resolution, and the quality. Click the “Export” button to make the video cropper launch the creation of the new video file.
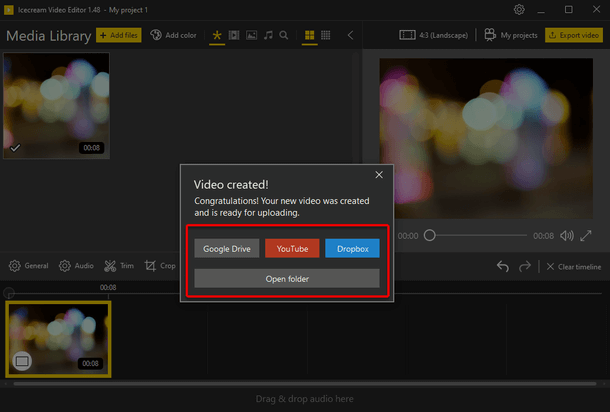
A pop-up notification window will confirm the video was created. It's possible to open the containing folder or upload your new video to YouTube, Google Drive, and Dropbox from this window.
