 YouTube is definitely the number one website for sharing video files. One of the most popular types of videos to be uploaded to YouTube is slideshows. Too bad YouTube doesn’t let you create the slideshow, so you first need to use slideshow making software and upload the video to YouTube. Luckily, you can make a slideshow and share it on YouTube within the interface of Icecream Slideshow Maker. As soon as you make a slideshow in this program you can upload the video to YouTube right away. Here is a simple guide of how to make a slideshow and share it on YouTube by means of Icecream Slideshow Maker.
Step 1: Add images
To start working with this slideshow maker, you should first add the images. This can be done either by adding each image one at a time by pressing the “Add Photo” button or in bulk mode by pressing the “Add Folder” button.
The drag and drop mechanism is supported by this free slideshow maker, so as an alternative you can just drag and drop the images into the program’s window.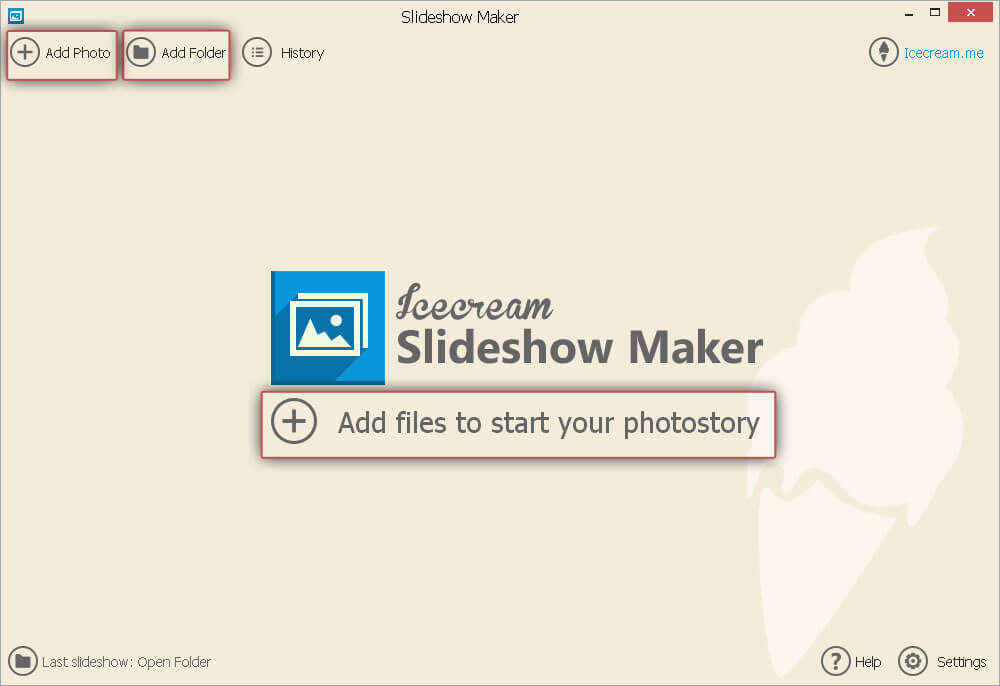
Step 2: Customize the image queue settings
As soon as the images are added, the left side of the program’s window is transformed into the image queue. You can reorder the images, delete them, select the transition effect, and set for how long each image should be displayed in a slideshow. Right below there is a common settings area, where you can select the duration of the slides and the transition effect. These values will be applied to all the images in the queue.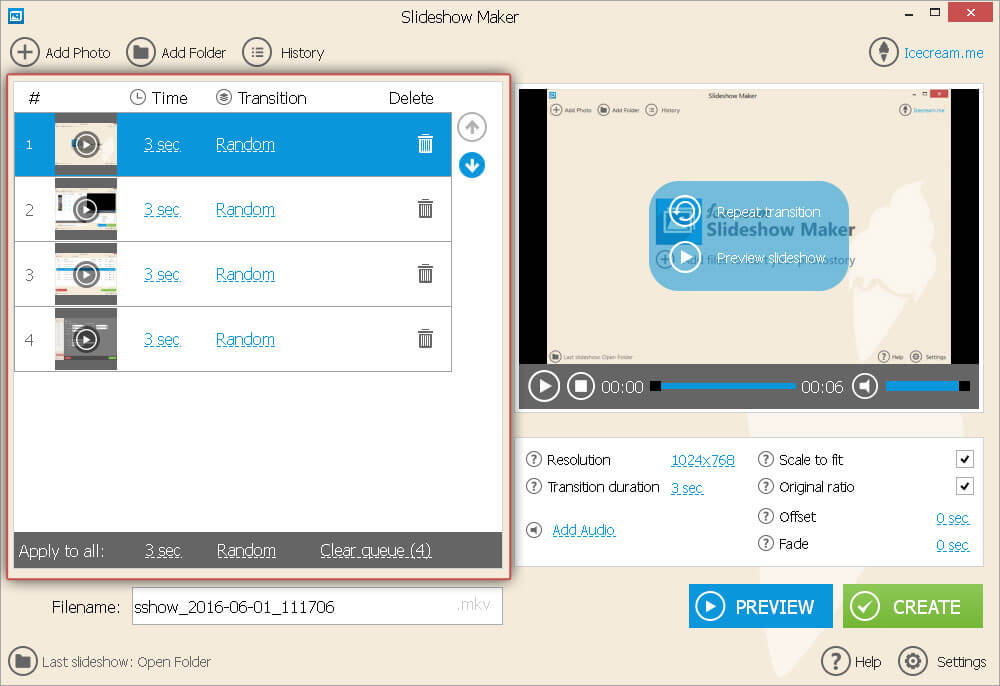
Step 3: Customize the slideshow settings
Icecream Slideshow Maker offers plenty of advanced settings to create a quality slideshow, such as resolution (seven custom resolutions available to select from), transition duration (one, two or three seconds), the option to scale images to fit the selected resolution, and the option to preserve the original ratio of the queued images while creating the slideshow.
If you want to make a slideshow with music, click the “Add audio” button to open Windows Explorer to add WAV, WMA, OGG or FLAC audio files. Audio settings like offset and fade can be customized for the audio added. If these settings’ values equal 0 sec, these audio effects are not applied.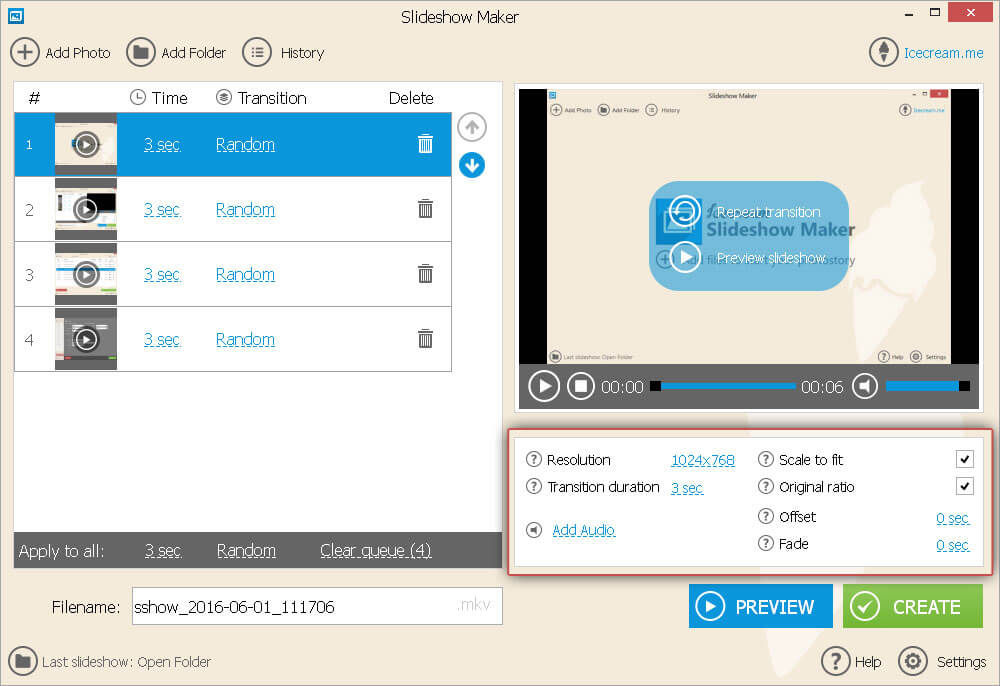
Step 4: Preview and create a slideshow
As soon as all the images are added and all the settings are customized, you can preview and make a slideshow. To preview the full slideshow, click the “PREVIEW” button of the slideshow maker. To create slideshow, hit the “CREATE” button.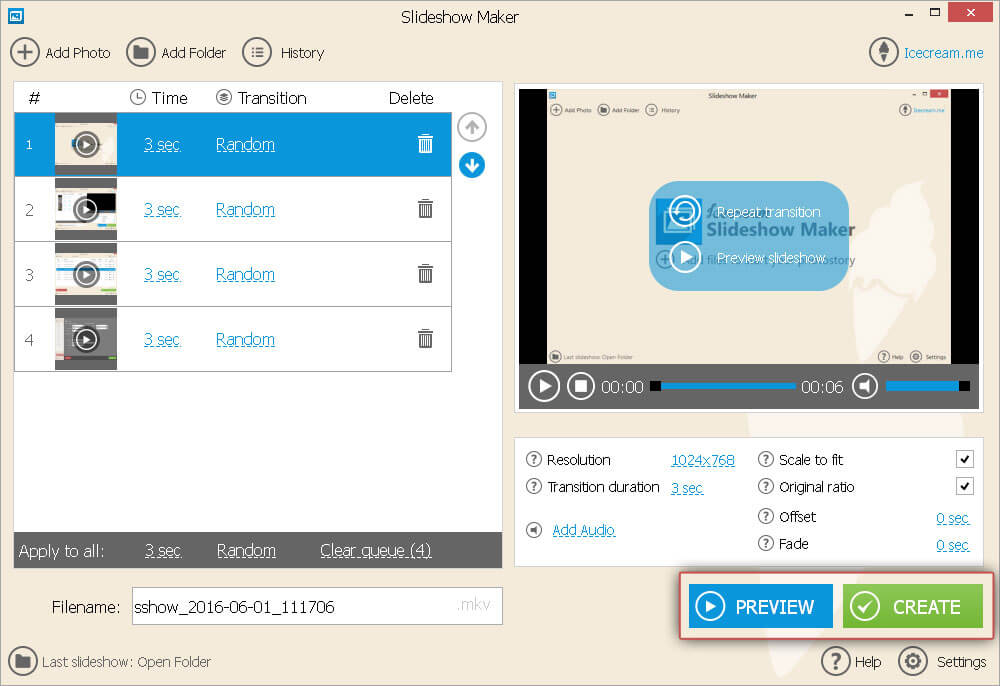
Step 5: Proceed with uploading the slideshow to YouTube
When the slideshow is created, there will be a pop-up window with the option to upload the slideshow to YouTube. Press the “UPLOAD TO YOUTUBE” button to proceed with uploading the file to your YouTube account. Type in the email and the password of your Gmail account to log in to it.

Step 6: Enter the title of your slideshow on YouTube
As soon as the login is complete and the program is allowed to post the video file, you can update the slideshow’s title on YouTube. Type in the required title of the video as it will appear on YouTube and press the “UPDATE” button.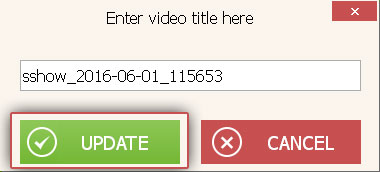
Step 7: You have successfully shared the slideshow on YouTube
Right after updating the slideshow’s title, the slideshow is successfully uploaded to your YouTube account. To open the video in your default browser, click the “OPEN YOUTUBE” button in the newly opened pop-up window.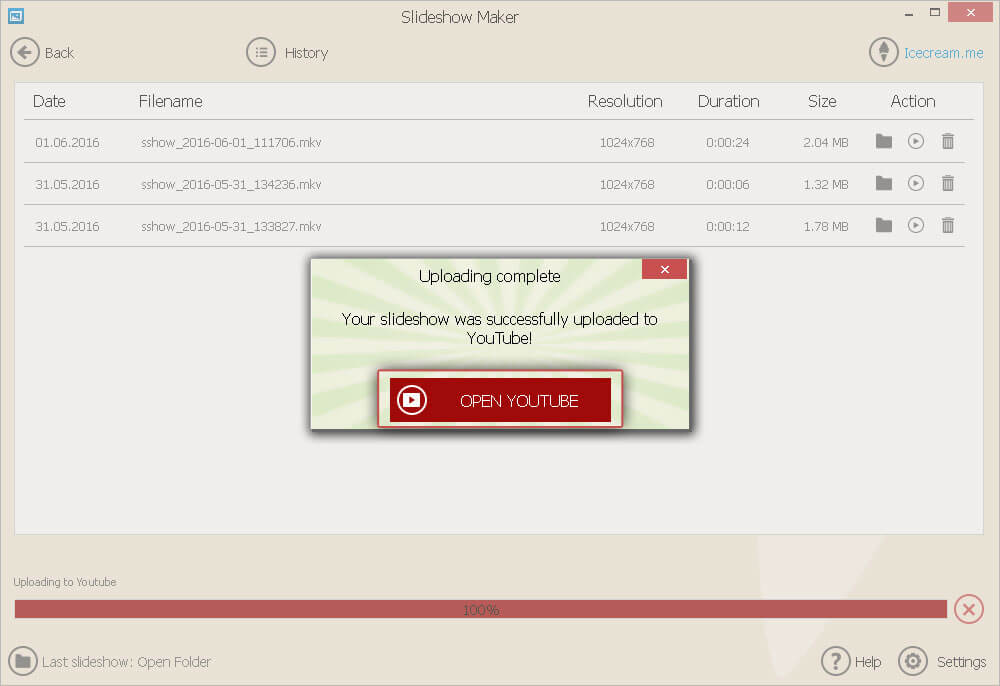
Now you know how to make a slideshow and share a slideshow on YouTube. The beauty of Icecream Slideshow Maker is that you can do that all within the interface of this free slideshow maker. If you’re a frequent slideshow creator, our review of the top 5 slideshow makers for Windows might be interesting for you.