How to Batch Resize Photos

If you want to resize a single photo, you can use the simplest applications and basic image editors, but in case you want to work with multiple photos, you’d better opt for a tool that supports batch resize. Icecream Image Resizer would be a perfect choice if you are looking for one! Using it, you can set the parameters for multiple files and liberate yourself from repetitive configuring.
This article explains how to batch resize photos with Icecream Image Resizer. If you have never used it before, check the guidelines to get a better idea of its functionality and possibilities.
Download, install and run the program
First off, download Icecream Image Resizer from our site. The process is easy is intuitive: just press the “Download” button and save the installation file on the computer. Running this file will activate the installation which is completed in several steps. Installation wizard will guide a user through the process, and once the program is installed, one can run it to start resizing the files.
Add photos
To resize images simultaneously, put them all into the same folder first. After that, press the “Add folder” button in the top left corner of the main window and select this folder using Windows explorer.
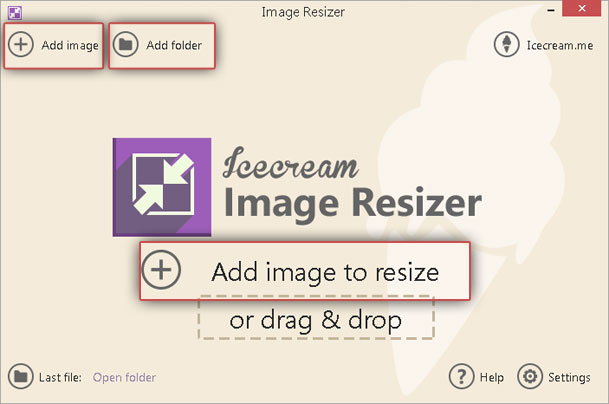
In case the files are saved in different folders, one can press the “Add image” button at the top left or a similar “Add image to resize” button in the center of the main window. Again, use the explorer to import images one by one. One can select several files via Windows explorer while keeping Shift or Ctrl buttons pressed.
One can make the process even easier by dragging and dropping files into the working area. Note that regardless of the type of importing options you use, the program doesn’t recognize any files that are not images. It's possible to import images in the following formats: JPEG, JPG, PNG, BMP and TIFF.
Once all the files are successfully added, skip straight to the settings. Note that removing one file from the queue is accessible through clicking on the “Delete” icon to the right of the file. By clicking on the “Clear queue” button in the bottom left corner, user can delete all the images from the queue and start over.
Settings
The “Settings” area is displayed on the right side of the program and allows setting the desired configurations prior to resizing.
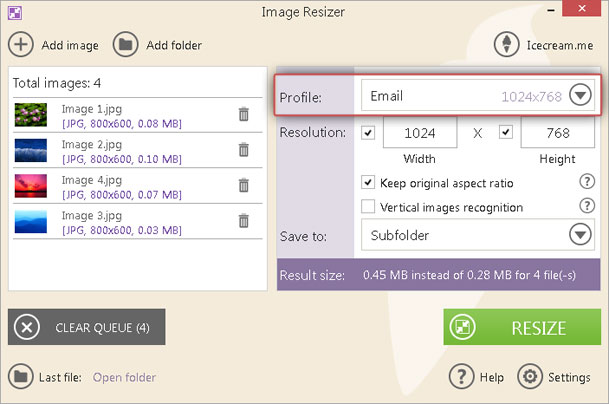
- Profile parameters. The program offers several default parameters (for example, email, desktop, 320x200, HD 1080p, and more). After choosing one of them, the “Width” and “Height” boxes below get proper values automatically. Besides, one can choose “Manual” to set custom parameters.
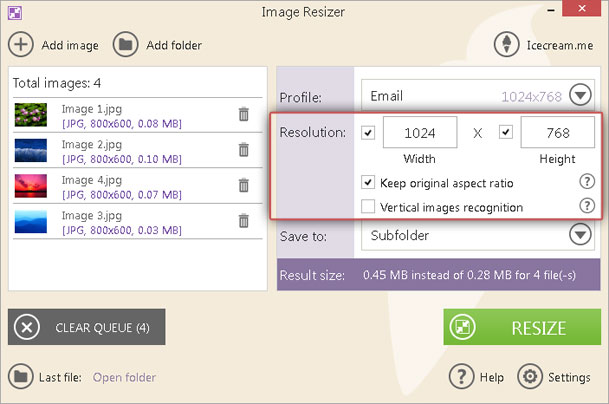
- Resolution. In case the “Manual” parameters option was chosen, specify the desired width and height in the boxes under the “Resolution” option. Also, uncheck the boxes in front of “Width” or “Height” in case the original value of the parameter isn't supposed to be changed. Finally, check the “Keep original aspect ratio” box to leave the ratio unchanged and the “Vertical image recognition” box to resize vertical images properly.
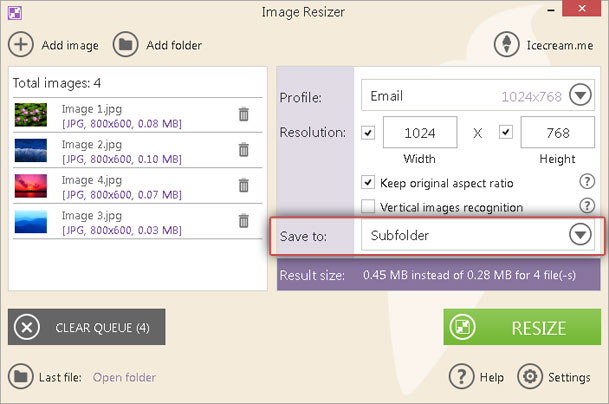
- Save to. When all the desired settings are configured, specify the output location for the output images. One can save them in the same folder that contains the original file (prefix “mini” will help a user find the resized image), choose any folder on the computer, or save them in a new subfolder within an original one.
Start batch resizing photos
To batch resize photos, press on the “Resize” button at the bottom right. User will see a message in a new window asking whether it should continue the process or cancel it. Press “Resize” again.
User can see the progress bar on the screen and check the elapsed and remaining time information. To pause or cancel the process, just click on the “Pause” icon or a “Cancel” button.
When resizing is completed, a popup window with an “Open folder” button becomes available – by clicking this button, user will be redirected to a containing folder with a resized file highlighted.

