How to Resize Pictures

If you don’t have an appropriate tool for image resizing, it would be hard for you to cope with a problem of inability to send large size images via email or upload them to a certain web resource. Icecream Image Resizer was designed for this specific type of tasks and allows you to change the parameters of your pictures to make them suitable for your specific case.
This tutorial explains how to resize pictures using Icecream Image Resizer. Follow these step-by-step guidelines to resize any of your pictures.
Download, install and run
To download Icecream Image Resizer on your computer, visit our website and find the “Download” button. Click on it and save a setup file on your computer. After that, run this file and follow the wizard to complete the installation. Launch the program to start resizing.
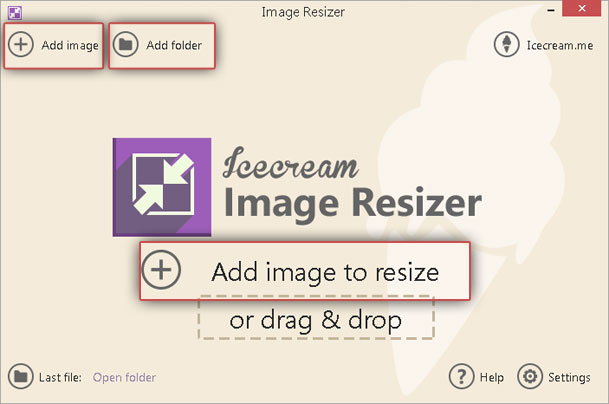
Add pictures
If all the files that you want to resize are stored in the same folder, press on the “Add Folder” button at the top left corner of the main window to import them all at once. The good news is Icecream Image Resizer is insensitive to any extensions aside from those associated with images (.jpg, .png, .bmp, .jpeg, .tiff), so if there are any other files in the folder, the program would just ignore them and import only those that are images. After clicking on the “Add Folder” button, use the explorer to find a necessary folder on your computer and press “Open”.
Alternatively, use the “Add Image To Resize” button in the middle of the main window or the similar button next to the “Add Folder”. It will help you import individual images from different parts of your computer. Use explorer to find the pictures that you want to work with. And of course, you can simply drag and drop your images to the main window. They will be displayed as thumbnails in a separate window on the left and you can check their total amount, titles, and other characteristics.
Settings
The following steps will help you prepare your files for resizing:
- Profile parameters. If you want to resize pictures for some specific task like emailing or using it as desktop wallpaper, you can choose a corresponding profile from the dropdown menu of the “Profile” option. If you want to set the parameters manually, you can choose the “Manual” option.

- Resolution. If you’ve chosen some of the preset parameters, the “Width” and “Height” boxes would be already filled with necessary values. In case you chose the “Manual” one, you would be allowed to type the desired “Width” and “Height” values into the corresponding boxes. If you only want to change one of the values (for example, resize height and leave width unchanged), uncheck one of the boxes and the program will only change the parameter that is checked. If you want to keep the width-height ratio of the original image unchanged, check the “Keep original aspect ratio” box under the “Resolution” option. Don’t forget to check the “Vertical image recognition” box if you are working with a vertical image.

- Save to. Once all your settings are configured, make up your mind on the output location of the resized files. The program offers 3 options: 1) Same folder + prefix mini. As the name suggests, a new image will be saved in the same folder and have a prefix “mini” in its title to help you differentiate between the original and resized images; 2) Subfolder. In this case, the program creates a new folder within the original one that contains the input file. You can find your resized image in this subfolder when the process is completed. 3) Choose folder. This option allows you to use the Explorer to specify any folder on your computer.

Resize pictures
Press on the “Resize” button located in the bottom right corner of the window to resize pictures. The program will ask you whether you want to continue with resizing a certain amount of images or cancel the operation. If everything is fine, press on the “Resize” button. Wait until the program completes the process. Note that you can stop, cancel or resume the resizing at any moment. On the completion, you can open the containing folder as suggested by the program or close the application.

