How to Resize an Image

People may want to resize images for different reasons: when an original photo doesn’t suit for blog posting, too large to be sent via email, or simply doesn’t meet the size requirements. Icecream Image Resizer was created to help users resize images according to their requirements. This tutorial demonstrates how to resize an image using Icecream Image Resizer.
Download, install and run
To download Icecream Image Resizer onto your computer, simply press the “Download” button on this website. Save a setup file on your PC and run this file. It will initiate the installation – follow the Wizard to complete the process as quickly as possible. Launch the program to start resizing.
Add image
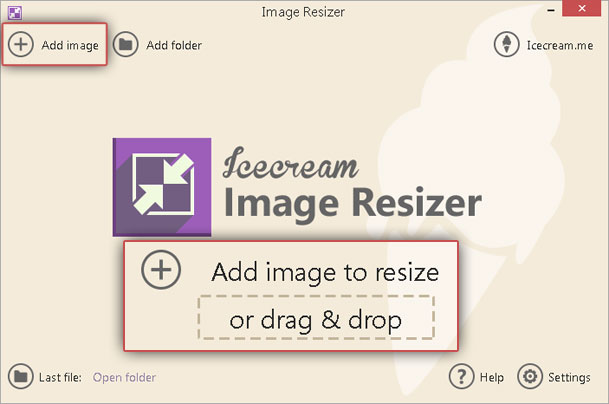
Use the “Add Image To Resize” button in the middle of the main window or the “Add image” button in the upper left to import an image to add a file for resizing. Also, you can simply drag and drop the image to the main window.
It will be displayed as a thumbnail on the left side of the window and you can check its title and other characteristics. Icecream Image Resizer only recognizes image formats (JPG, PNG, TIFF, etc.), so if you are trying to add a file which is not an image, the program simply wouldn’t open it.
Settings
- Profile parameters. The program offers several preset profiles for quick resizing – select one of them from a dropdown menu of the “Profile” option or choose the “Manual” option to set the parameters manually.

- Resolution. After choosing one of the preset parameters, the program will set the “Width” and “Height” values automatically. In case you chose the “Manual” one, you would be allowed to type the desired values into the corresponding boxes. If you want to change only one of the parameters (height or width), uncheck one of the boxes and the program will only change the parameter that is checked. To keep the original width-height ratio to avoid distortion, check the “Keep original aspect ratio” box under the “Resolution” option. Finally, check the “Vertical image recognition” box if you are working with a vertical image.

- Save to. Once all the configurations are set, choose the location of the output file. The program offers 3 options: 1) Same folder + prefix mini – a new image will be saved in the same folder and have a prefix “mini” in its title; 2) Subfolder – the program creates a new folder in the original one which contains the input file; 3) Choose folder – use the Explorer to select any folder on your computer.

Resize an image
Press on the “Resize” button located in the bottom right corner of the window. The program will ask you whether you want to continue with resizing – press the “Resize” button to continue and wait until the program finishes the process. Note that you can stop, cancel or resume the resizing whenever you want by pressing the corresponding buttons. In the end, open the containing folder as suggested by the program or close the application.

