How to Choose Resize Parameters

Icecream Image Resizer is an ultimate solution to all sorts of images resizing tasks. This tool is easy to use and offers a full range of options necessary for successful resizing without distortion of images or lowering their quality. This particular tutorial pays special attention to choosing resize parameters for the images – check it out to prepare the photos for resizing.
Download, install and run
This program is a desktop application, so the first thing you want to do is download Icecream Image Resizer and install it. It’s available on our website – just press the “Download” button and save a setup file on your PC. Run it to launch the installation. If you have no experience with installing software, just follow the guidelines suggested by the installation wizard. The process only takes a few seconds and very soon you can open the program and utilize it for your resizing tasks.
Add images to resize
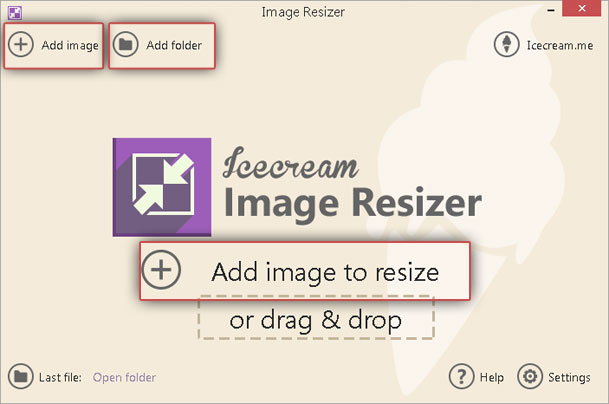
Icecream Image Resizer offers two convenient ways of adding new files: “Add Image” and “Add Folder”. The first option works for any types of images and you can choose it either in the middle of the main window ("Add image to resize") or in the top left corner. After clicking on it, you will see an explorer that you can use to import the images one by one.
If you want to import images in a bulk, you would love the “Add folder” option (you can find it in the top left corner as well): it allows importing a folder with multiple files without adding each image separately. The good news is the program filters files that are not images and only imports those that have proper extensions that are JPEG, JPG, PNG, BMP, TIFF.
The program also supports drag-and-drop mechanism of adding files: just open a folder that contains your images, hold Shift or CTRL button to select multiple images if necessary, and then drag and drop them into the working area.
The imported files will appear in a window on the left side, and you can check their titles, sizes, resolutions and thumbnails to make sure your queue looks exactly like you want. You can delete single files from the queue by clicking on the recycle bin icon to the right of an item or press the “Clear queue” button to delete all the files at a time.
Set and choose resize parameters
To choose resize parameters, you need to configure the settings at the right side of the window:
- Profile. You can start with choosing profile parameters. There are some presets for emailing, HD images, etc. Besides, there is the “Manual” option that allows you to set custom parameters depending on your needs. Click on a desired option to choose it.

- Resolution. After choosing profile parameters, you will see certain values in the “Width” and “Height” boxes (1024x768 for Email, 1280x1024 for Desktop, 320x200 for a similarly named option, 1920x1080 for HD 1080, and 1280x720 for HD 720 and so on). If you chose the “Manual” option, these fields can be adjusted manually and you can enter any values you want.
Sometimes users want to change just one parameter, for example only height or only width. If that’s the case, simply check the box for the parameter that you want to be changed. What concerns another one, it would be changed proportionally if "Keep original aspect ratio" option is active and would remain the same if this option is not ticked.
Also, most users want to keep the original aspect ratio for their images in order to avoid stretched pictures. Check needed box under the “Width” and “Height” ones to keep the ratio unchanged. Finally, check the “Vertical image recognition” box if the image you are working with is vertical.
So, that’s how you choose resize parameters. There are a couple of simple steps left to take before you can use your resized images.

- Save to. Select one of 3 available output folder options (“same folder + prefix mini”, “subfolder” or “choose folder”).

Resize images
Press the “Resize” button in the bottom right corner of the window, then press “Resize” in a popup window, and just wait until the program completes the process. On the completion, press the “Open folder” button in a popup window to view images in the containing folder. After that, you can quit the application or continue with other tasks and choose resize parameters for more photos.

