How to Change Resolution of Your Photos

Sometimes users may want to resize photos because they don’t fit for a certain situation. For example, it’s impossible to email HQ images if they exceed certain size limitations. Also, some online resources only accept images of a certain size. If users faced this problem and found themselves lost and helpless, they can test Icecream Image Resizer and use it to change image size in a couple of mouse clicks.
Prior to giving this program a test drive, check this tutorial to learn more about how to change resolution of your images.
Download, install and run the application
You can download Icecream Image Resizer on our website: just click on the Download button and save the installation file on your computer. When the file is downloaded, double click on it to start the installation. Typically, it doesn’t take longer than a minute. Once the Installation Wizard notes that the program was successfully installed, launch it and start working.
Add photos
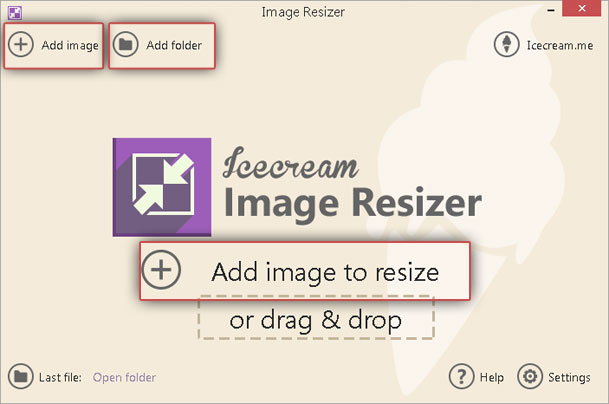
To add a file for resizing, click on the “Add Image” button in the middle of the main window. There is an “Add Image” button at the top left corner of the main window as well, and this button works exactly like one in the middle of the window. Clicking on one of these buttons will open Windows explorer that only allows a user to choose a file of an appropriate extension (JPEG, JPN, PNG, BMP, TIFF). So, click on the image is supposed to be resized and press “Open”. Alternatively, just drag and drop the image directly to the main window. To select several images through Explorer, hold Shift or Ctrl.
Besides, one can click on the “Add Folder” button to import several files in a bulk from one certain folder. The program will filter any other files in this folder and import only the images with the supported extensions.
Repeat the steps for as many images as necessary to queue them and resize them all at once according to the chosen settings.
Settings
Now, it’s time to configure the resolution and other settings.
- Profile parameters. There are several preset parameters that set the resolutions automatically: one can choose the configurations for certain tasks like resizing images for email or desktop or choose one of the popular resolution options, such as 320x200, HD 1080p, or HD 720p. These parameters will be displayed in the “Width” and “Height” boxes below. Besides, it's possible to set custom parameters by choosing the “Manual” option: it allows typing in any desired values for width and height.

- Resolution. User can see the “Width” and “Height” boxes at the top of this section. These boxes will display the values for width and height according to the chosen “Profile” settings. To set manual values, just type them into the corresponding boxes. To change the value for only one of these two parameters, uncheck the box in front of the parameter that should be left unchanged. Check the “Keep original aspect ratio” to resize the photo according to the initial ratio. Check the “Vertical image recognition” box while working with vertical images.

- Save to. In here, specify the output location for the images. Select the “Same folder + prefix mini” option and save your output file to the original folder. Saving the resized images to subfolder means allowing the program to create an additional folder inside of the original one and save the output files there. Finally, the “Choose Folder” option allows selecting any location on the computer using Windows explorer.

Change resolution of your photos
Once the parameters set, click on a green “Resize” button at the bottom right to resize and change resolution of your photos. A popup window will show up asking whether you want to resize a certain amount of files or cancel the operation. Press “Resize” and wait until the program completes the process. The progress can be tracked on the bar as well as the elapsed time and estimated remaining time. The process can be paused or resumed by clicking on the “Pause”/”Resume” button next to the progress bar. Also, user can cancel the process by pressing the “Cancel” button next to the “Pause”/”Resume” button.
On the completion, one will see a popup window saying that the process was successfully completed. Press the green “Open Folder” button in this window to see the image in the output folder. After that, user can either quit the application or continue with other resizing tasks.

