- 10shares
- 6
 Two weeks ago we released the 4.0 version of Icecream Screen Recorder, which we polished with new, cool features and a new design for the History panel. The features added to this version were taken mostly from our hotlist that we created from the tips and suggestions we received from our users. The ability to finish the recording within a certain period of time was one of the most frequently demanded features. Thus, this feature was successfully implemented to the program, and we decided to provide a tutorial on how to set screen recording on a timer with Icecream Screen Recorder.
Step 1. Click the “Capture video” button in the upper-left-hand corner to open the drop-down list with the available recording modes offered by Icecream Screen Recorder.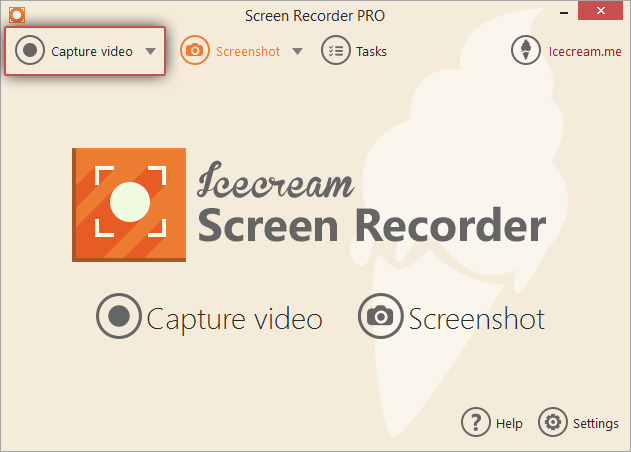
Step 2. Select the recording mode. This screen capture software offers the following recording modes:
- Custom area (manually select the recording area right after the selection of the mode)
- Fullscreen (the screen recording software automatically selects the full screen to be recorded. If you have multiple screens, then you get to select which one you want to record.)
- Last area (the previously recorded area is selected automatically by the program)
- Area auto detection (the screen recording tool gives you an area detection tool to easily select windows and other elements on the desktop)
- Around mouse (an area of a selected preset size is moved around the mouse cursor; note that the Timer tool is not available for this recording mode)
- Selfie mode (the webcam is automatically opened for the recording)

Step 3. Select the recording area if you’re recording in “Custom area,” “Area auto detection,” or “Selfie mode” recording modes. Use the markers on the borders of the area to adjust its size or move it around the desktop.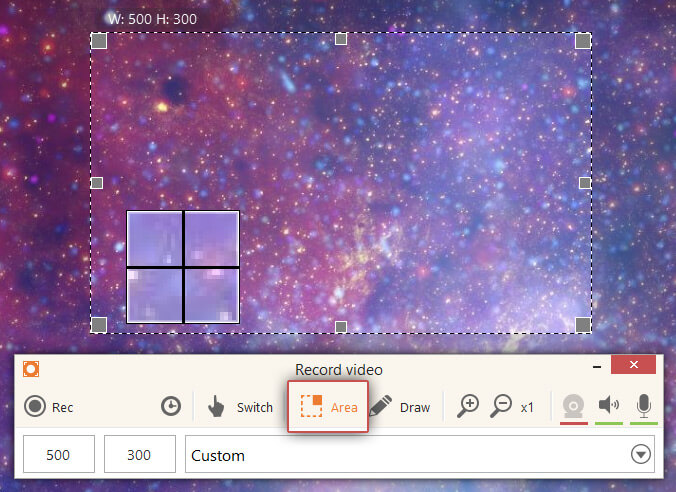
Step 4. Click the “Timer” button to open the settings for screen recording with the timer.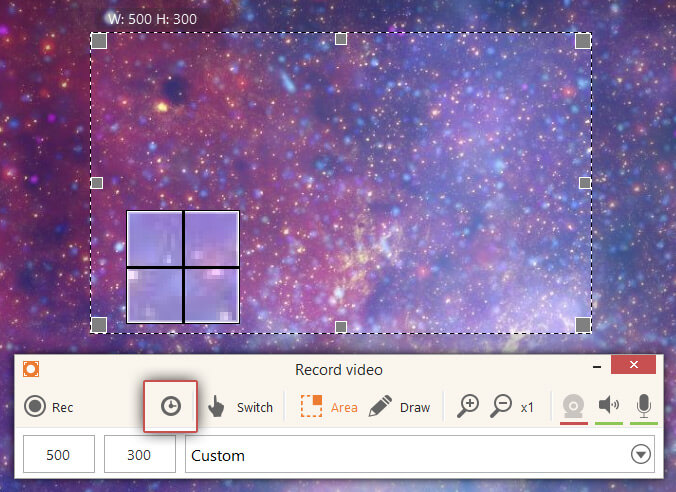
Step 5. Select the time after which the recording should automatically stop. There are preset options available, such as 1, 3, 5, 10, 30, and 60 minutes. Select the “Custom” option to enter your own custom value for the timer. You can enter a value between 1 and 120 minutes.
Step 6. Click the “Rec” button to start screen recording. The recording will stop after the specified time.

Now that there is a timer for screen recording available in Icecream Screen Recorder, using the screen recorder has become even easier and smoother than before. You can read more about other features of Icecream Screen Recorder that were previously added here.
this one seems pretty simple to do. let me give icecream recorder app a try. is it available for macOS Sierra?
Robin.
Hello Robin, let us know how you like Icecream Screen Recorder. There are Windows and Mac versions of the program.
i would probably try this app, if you could delay the start time to a time based on the internal clock (even in minutes). And if you could choose to record for longer than two hours would be good as well. And importantly, I would want the option of the recording to stop and save when the available memory gets down to a specific value. Then this app would officially be amazing.
Amazing i am going to definitely try this.
Hi, there is another way, to start recording at certain time then stop recording at the end of session you set it up. This is can be done by: Open the program at the top left area of the screen then click on Capture. Then scroll down to Task that will open a windows allows you to set the starting time for recording and the end time of your recording. Thanks
my Dell Inspiron 15 7569 laptop has an integrated camera, it records and takes video flipping the image, any solution on how I can fix that and how I can record as how the image is previewed, it uses the windows 10 camera app.
Please reach out to our tech support team here: https://icecreamapps.com/support.html Thanks!
Would like to say thank you so very much……I have ASUS40i/K50i series, 64 bit, windows 10 and webcam was showing upside down. Followed your instructions to the latter (installed windows 7 driver) and the problem of upside camera was fixed……….I am not young, don’t understand about computers, drivers etc, & after much reading/researching decided to follow your advice. Thank you again for helping me….rene.