- 9shares
- 6
 Facebook has become an integral part of the lives of all Internet users. The majority of active online users start and finish their days by spending time on Facebook. There is no doubt that any person wants his or her profile to look top-notch, and that’s why tons of images and relevant media data is constantly uploaded to Facebook. When you open a Facebook profile, the first thing you see is the Facebook cover photo. That’s why it is so important to have an awesome image as a cover photo. However, cover photos have a pretty inconvenient size – 851×315 pixels – and you basically can’t upload any other photo of any size. Here is a simple three-step guide of how to resize photos for Facebook covers using Icecream Image Resizer.
Step 1: Add a photo
Adding a photo to work with to a program has never been so easy – just drag and drop an image into Icecream Image Resizer’s window and it’ll be added to a queue for further resizing. Another way of adding pictures is to click the “Add image to resize” button to open Windows Explorer and manually browse files on your computer.
Step 2: Customize settings
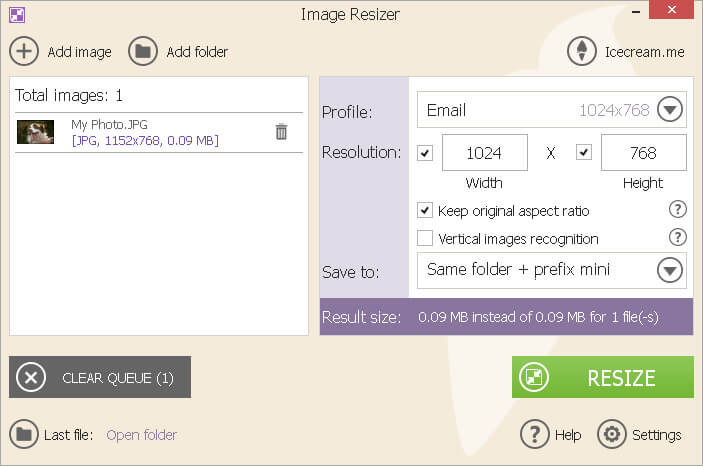
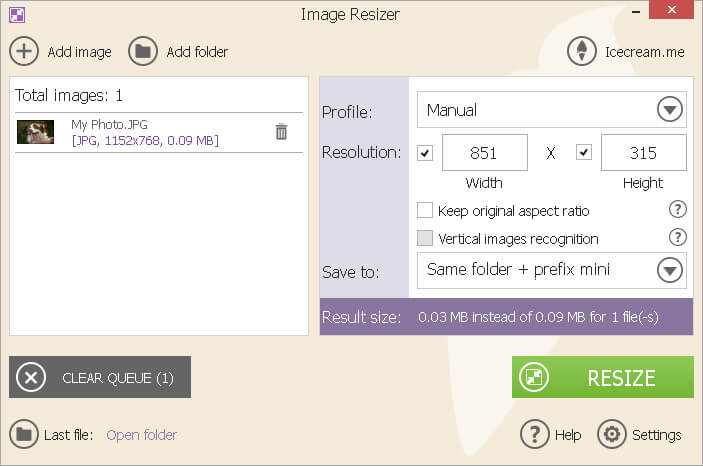
The size of Facebook cover photos is exactly 851×315 pixels. Pay attention to the Resolution section on the resizing settings; there you can find Width and Height boxes. To resize a photo for a Facebook cover, type in 851 into the Width box and 315 into the Height box. Make sure both checks next to these values are placed. If you need to adjust the width of the image and prevent it from any distortion, keep the Width value checked and uncheck the Height value. In addition to that, apply the “Keep original aspect ratio” option.
The next thing to do is to select the destination folder for the output image. You can do so in the “Save to:” section of program’s settings. There are three options available to choose from: Same folder + prefix mini (program saves a new file with prefix mini in its title into the same folder as the original image), Subfolder (Icecream Image Resizer automatically creates a new folder with the title of the original file), and Choose folder (open Windows Explorer to manually browse for the output folder).
Step 3: Resize photos for a Facebook cover
When everything looks good, the only thing left to do is to hit the RESIZE button in the lower right hand corner of the program. In seconds you’ll see a notification window telling you your image was successfully resized. Press the “Open folder” button to open the folder containing the resized image.
Using Icecream Image Resizer you can not only resize photos for a Facebook cover, but you can do so for any other purpose. Add images, tweak some settings and press the button; it’s as easy as it sounds!